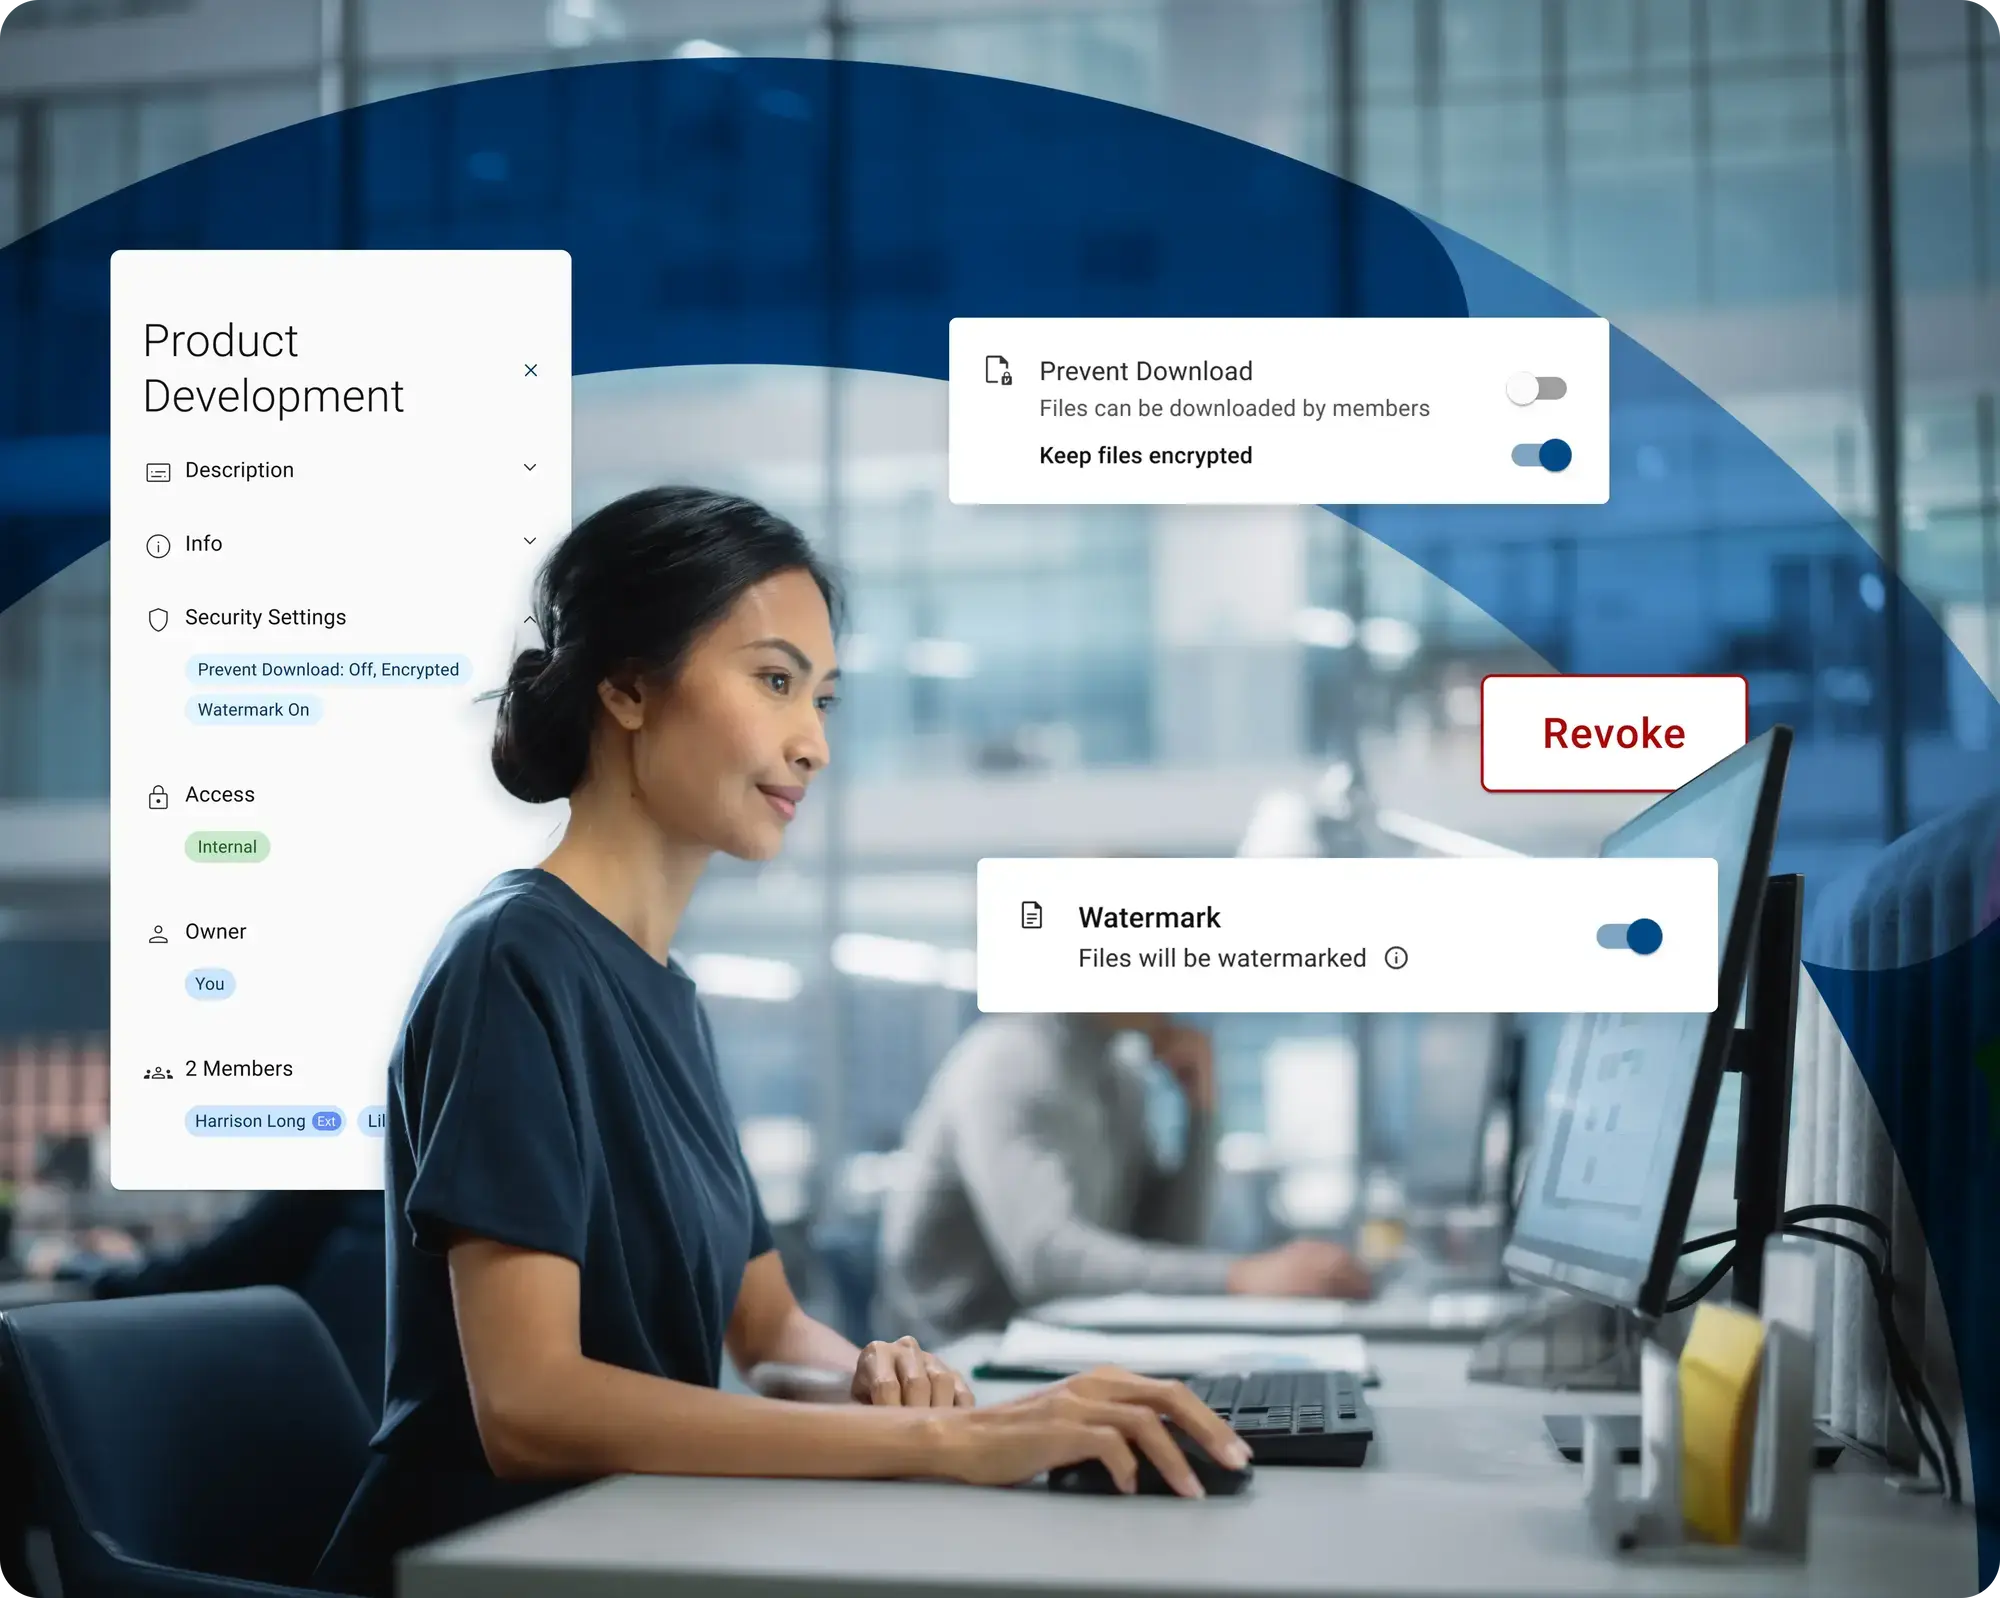
Phase 1: Set Up Virtru Collaborate
HOW:
Complete the prerequisite and contact Virtru to get Collaborate turned on for your organization. Expect your account to be enabled within 2–3 business days
ADDITIONAL NOTES:
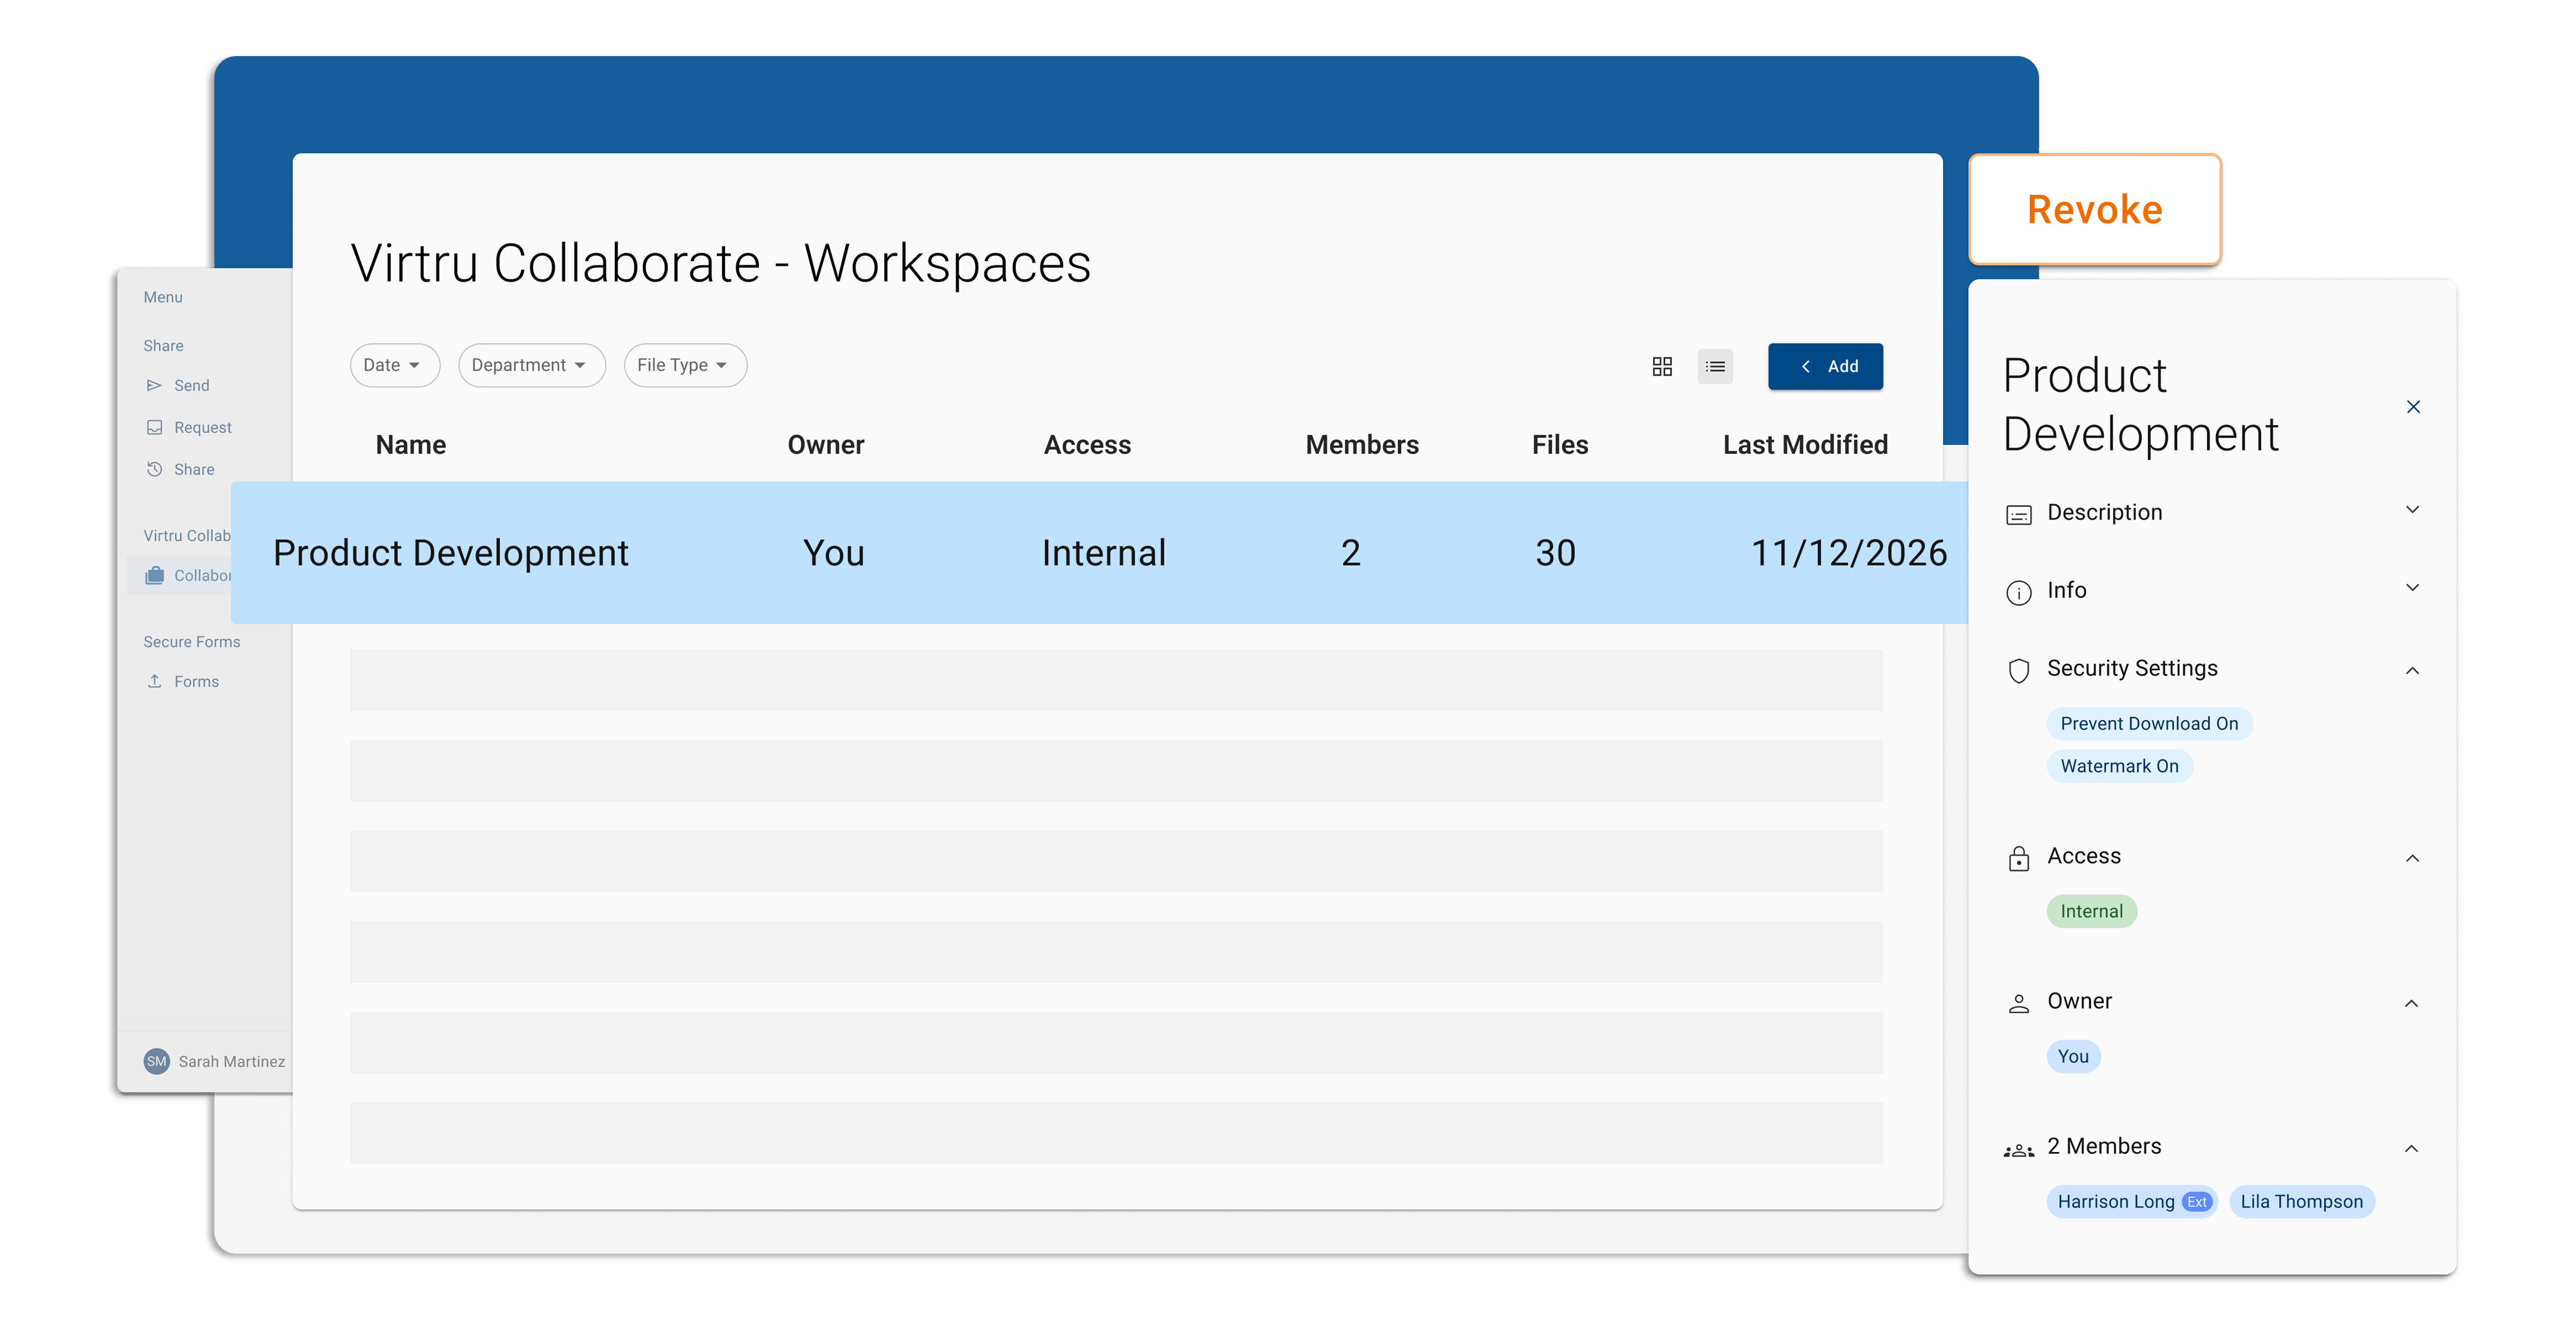
Once enabled, a new option - Workspaces - will automatically appear in the left navigation of your Secure Share interface for all users in your organization. No additional configuration is required.
Phase 2: Add Users
Set your organization up for success by adding users
Add Users:OR
Phase 3: How to Use Virtru Collaborate
What: Users can access Virtru Collaborate here: https://secure.virtru.com/secure-share/data-harbor
What: Create a Workspace
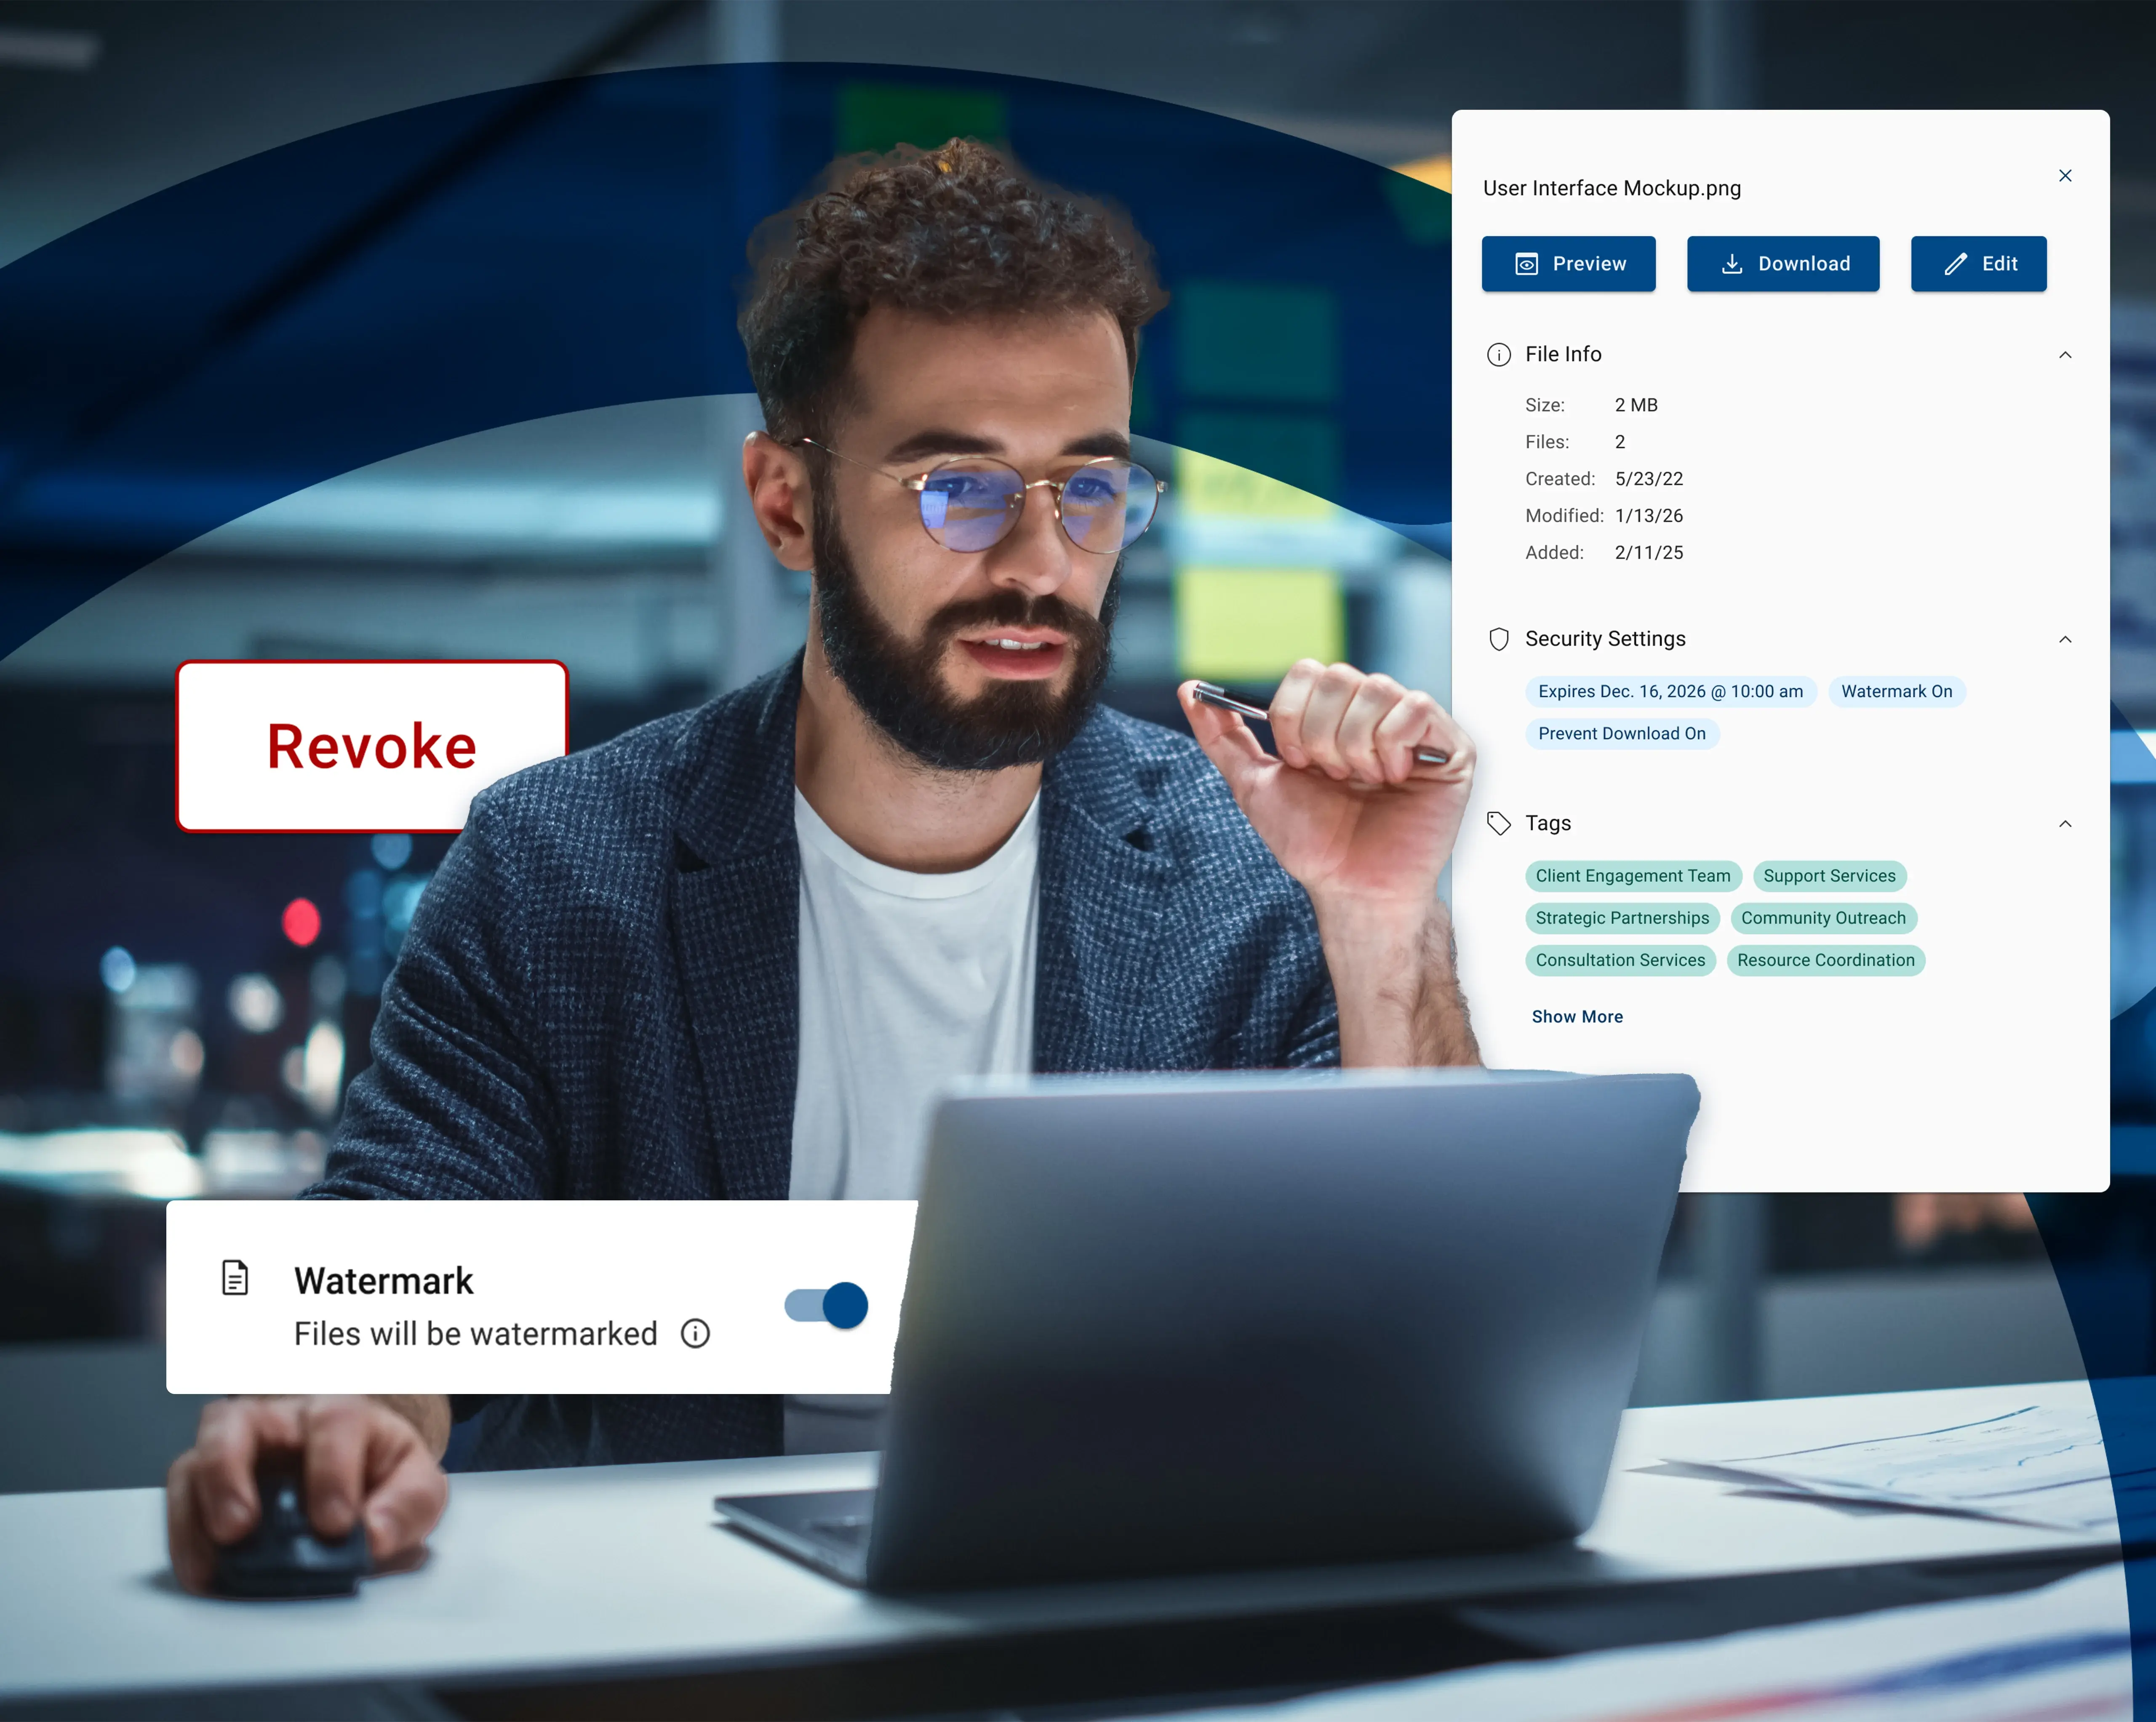
Why: Workspaces are the foundation of Virtru Collaborate — named, persistent spaces where you store and share files with your team and external partners. Create one for each project, client, or workflow that involves sensitive files. Give it a name, add an optional description, and invite members to get started.
What: Add people and upload files
Why: Both internal users and external partners can be added to a Workspace by email address — they access it the same way your team does. Upload files directly from your computer, or connect to Google Drive or OneDrive/SharePoint to pull in files you're already working with.
Note: We recommend sharing these resources with your users to ensure they have all the resources they need to successfully get started with Virtru Collaborate.
Manage Workspace Roles
Control what each member can do within a Workspace. Assigning the right roles upfront keeps sensitive files secure and prevents accidental changes.
Add files from Google Drive or OneDrive/SharePoint
If your team already stores files in cloud storage, you can add them directly to a Collaborate Workspace without downloading and re-uploading. Virtru encrypts and protects them automatically.
Let your team know what to expect
Members added to a Workspace receive a confirmation email, but a quick heads-up from you goes a long way toward a smooth first experience. Share the link below with your users so they know how to access their files.

You're All Set! Now Take Virtru a Step Further.
Now that you've deployed Virtru Collaborate, you're on the way to safeguarding sensitive information everywhere it travels. But that's just the start of your data-centric journey: Here are additional resources to make the most of Virtru.

Don't Forget These Features
- If you are sending or requesting a lot of files, the History tab can help you quickly filter, search, and view your files. You can also click on a file and get a quick link to the email that contains the link to the file.
- Custom branding allows you to add your own colors and branding. This isn't required, but it's a great way to remain familiar with your external collaborators.
- Easily share Google Drive files with people outside your organization without sacrificing security.

Recommended Reads
- Got questions? Visit the Virtru Help Center and Customer Support for answers to frequently asked questions.
- Curious to see how other organizations use Virtru? Want to learn more about Zero Trust or Data-Centric Security? Virtru's Resource Library has plenty of case studies, guides, and quick reads for tech leaders.
- Make sure your teams are covered: Our Cross-Department Data Protection Checklist highlights the sensitive data that your organization is likely sharing, from HR to the Board of Directors.

Explore Data-Centric Security
Virtru is more than just email and file encryption. Discover other solutions to make secure data sharing seamless.
- Virtru Email Encryption: Seamlessly encrypt emails and attachments in one click within Gmail or Outlook.
- Virtru Data Protection Gateway & SaaS App Integrations: Automate data-centric security wherever sensitive data moves, with integrations with Salesforce, Zendesk, and other apps you use every day.
- Virtru Private Keystore: Take complete ownership of your encrypted data by hosting your private encryption keys anywhere and collaborate with total confidence that your data remains under your control.