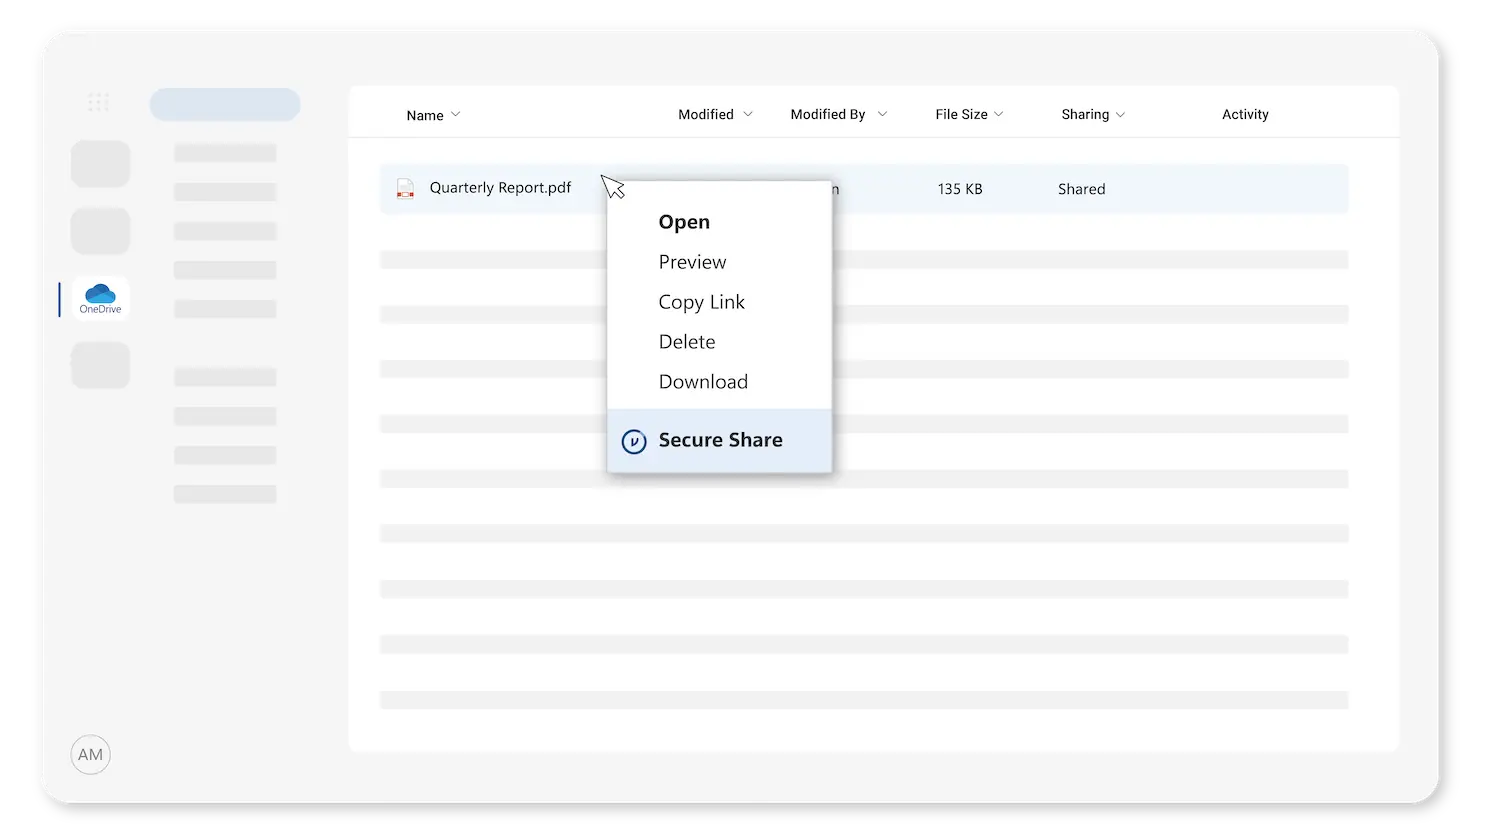
Whether you’re in a web browser or working within Microsoft apps, Virtru Share makes it easy to share sensitive files externally while maintaining security and control. Simply follow the instructions below to enable your Virtru Share integration for Microsoft OneDrive, SharePoint, and Teams—and share files securely right from where you work.
Phase 1: Configure Virtru
First thing's first: Set your organization up for success by adding users and using custom branding.
Add Users to Control Center
Virtru Share users need to be added to your Virtru Control Center. You can pull them in by configuring a sync with Google Workspace or Entra ID (Formerly Azure AD) -recommended- or you can add them manually. If you already configured a sync while deploying another Virtru product, you can quickly refresh an existing sync.
Note: If your Virtru Share users are already added to your control center for Virtru for Email, no additional action is needed
Configure Branding (Optional)
You can add your logo and colors to Virtru Share. This step is optional, but it is a great way to ensure the Virtru Share experience reflects your organization’s unique brand.
Customize Virtru Share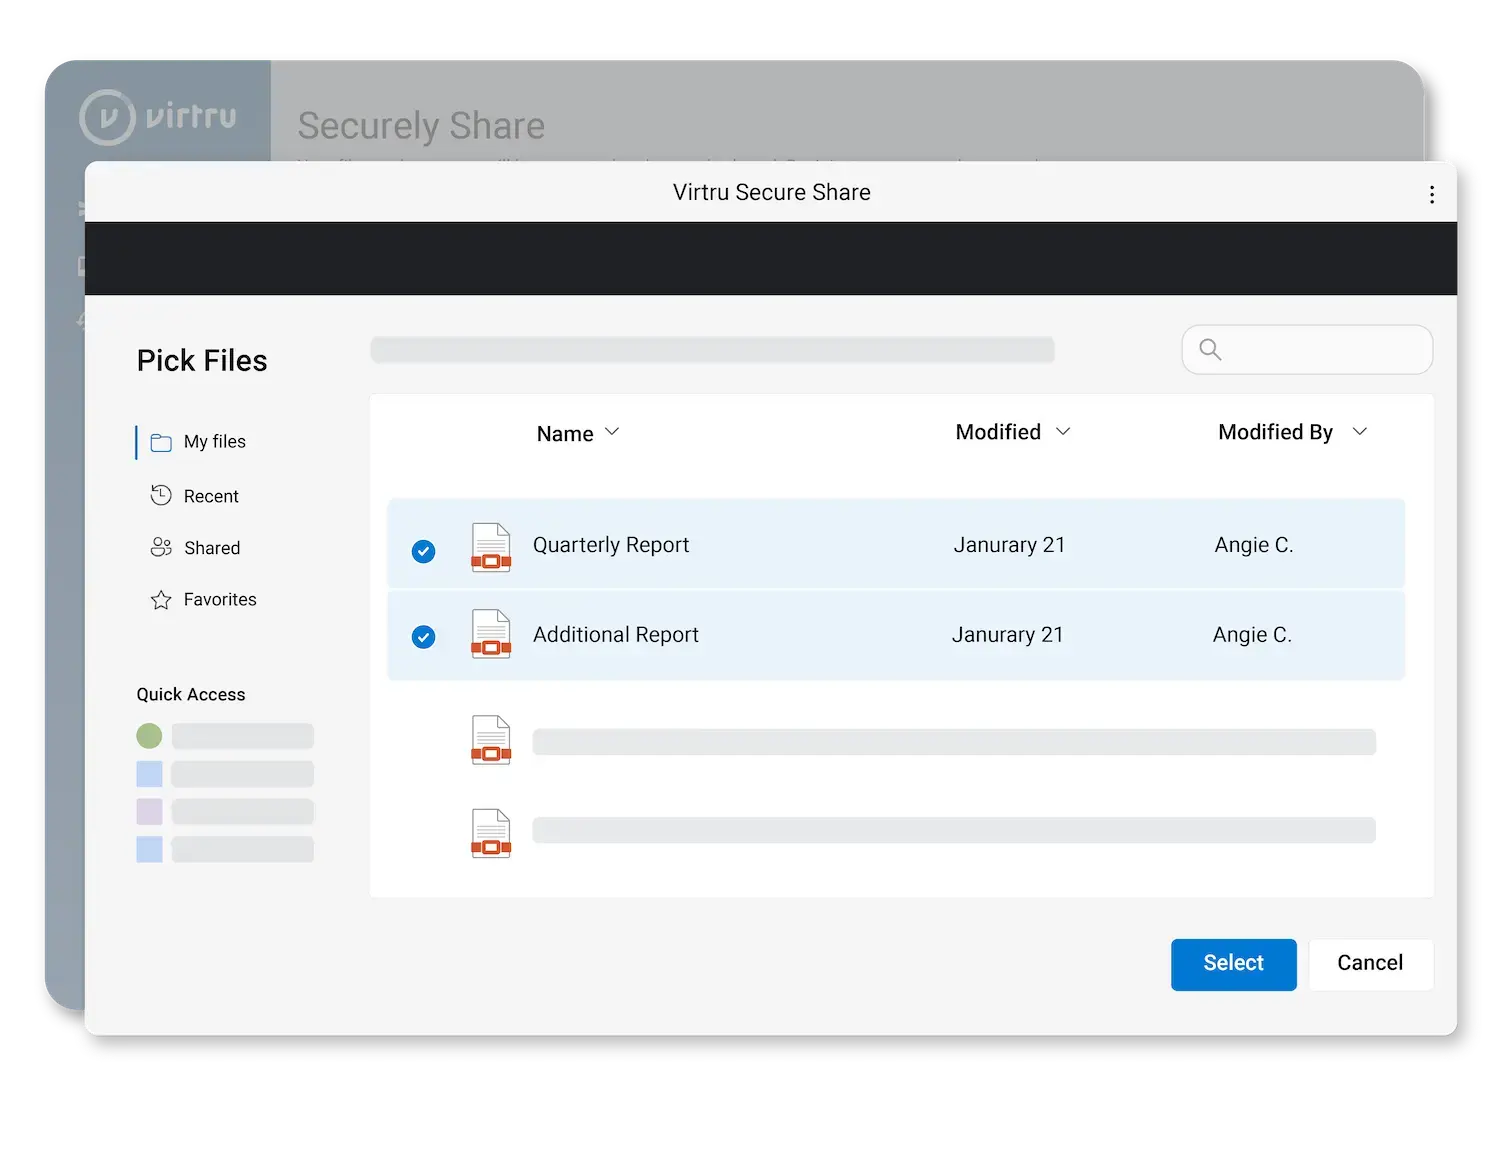
Phase 2: Install Virtru Share for Microsoft OneDrive, SharePoint, & Teams for your Organization
To start using Virtru Share for OneDrive, SharePoint & Teams, a Microsoft Entra admin will need to install the application in the Microsoft Entra admin center.
Install VirtruPhase 3: Teach Your Users How Virtru Share for Microsoft OneDrive, SharePoint, & Teams Works
Securely Share Microsoft Files
Virtru Share is a key aspect of your security and compliance posture. Accounts that notify users prior to roll out typically see higher adoption rates and fewer post-release user questions.
Share this link with your users and reinforce “why” security is important to your organization.

View a Secure File Shared with you via Virtru Share


Securely Share a File Without Virtru Share Installed

You're All Set! Now Take Virtru Share a Step Further
Now that you've deployed Virtru Share, you're on the way to safeguarding sensitive information everywhere it travels. But that's just the start of your data-centric journey: Here are additional resources to make the most of it.

Don't Forget These Features
- If you are sending or requesting a lot of files, the History tab can help you quickly filter, search, and view your files. You can also click on a file and get a quick link to the email that contains the link to the file.
- Custom branding for Virtru Share allows you to add your own colors and branding. This isn't required, but it's a great way to remain familiar with your external collaborators.
- Custom Restrictions in Virtru Share

Recommended Reads
- Got questions? Visit the Virtru Help Center and Customer Support for answers to frequently asked questions.
- Curious to see how other organizations use Virtru? Want to learn more about Zero Trust or Data-Centric Security? Virtru's Resource Library has plenty of case studies, guides, and quick reads for tech leaders.
- Make sure your teams are covered: Our Cross-Department Data Protection Checklist highlights the sensitive data that your organization is likely sharing, from HR to the Board of Directors.

Explore Data-Centric Security
- Virtru Share is part of the Virtru Data Harbor Platform, an entire suite of data-centric security solutions.
- Virtru Email Encryption: Seamlessly encrypt emails and attachments in one click within Gmail or Outlook.
- Virtru Email Gateway & SaaS App Integrations: Automate data-centric security wherever sensitive data moves, with integrations with Salesforce, Zendesk, and other apps you use every day.
- Virtru Private Keystore: Take complete ownership of your encrypted data by hosting your private encryption keys anywhere and collaborate with total confidence that your data remains under your control.